I take a lot of screenshots: to report a bug, to explain a setting, or just to tell someone “click here”. On Windows that is easy. When I moved to Ubuntu, I could not find a screenshot tool that felt right, so I ended up building my own. It is called snapgo, it is free and open source, and this post is the story of why I made it and how you can use it too.
What I tried first
Flameshot was the first one. It is popular and it has great tools. But on my setup, with more than one screen, it sometimes captured only one of them. And when my screens used different scaling, I ran into bugs.
ksnip was next. It works well, but every screenshot needs extra steps:
- Press Print Screen.
- Press Enter to confirm the capture.
- Only then draw an arrow or a box.
- Click Copy.
- Close the window.
Five steps, for every single screenshot. I looked for something better, could not find it, and decided to make my own.
How snapgo was built
To be honest, I did not write most of the code myself. Most of it was written by Claude Code, an AI coding assistant. My part was the requirements and the ideas: how it should feel, what each key should do, and testing it again and again until it worked the way I wanted.
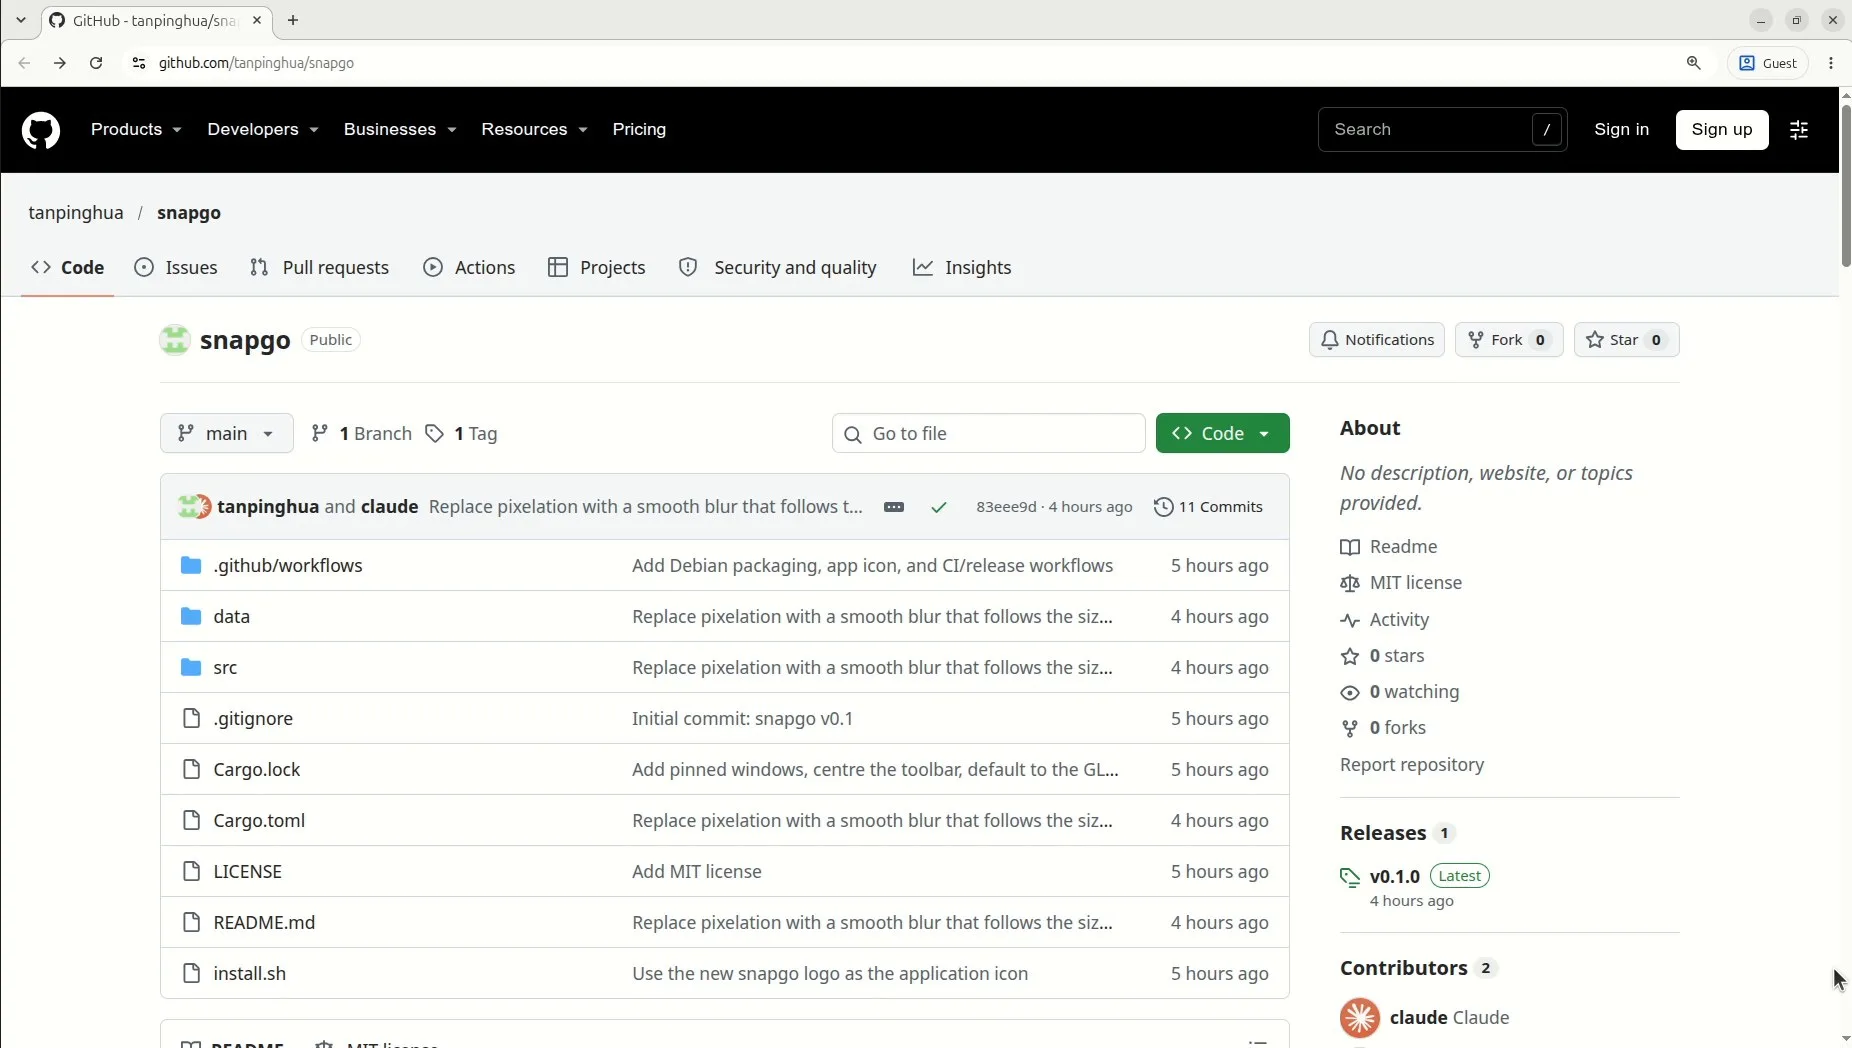
snapgo is written in Rust with GTK 4, so it starts fast and stays light. It is built for GNOME on Wayland, the desktop Ubuntu uses. The code is on GitHub: github.com/tanpinghua/snapgo (MIT licence).
What is different
- Every screen freezes together, and the screenshot always comes out in real pixels, even with mixed scaling.
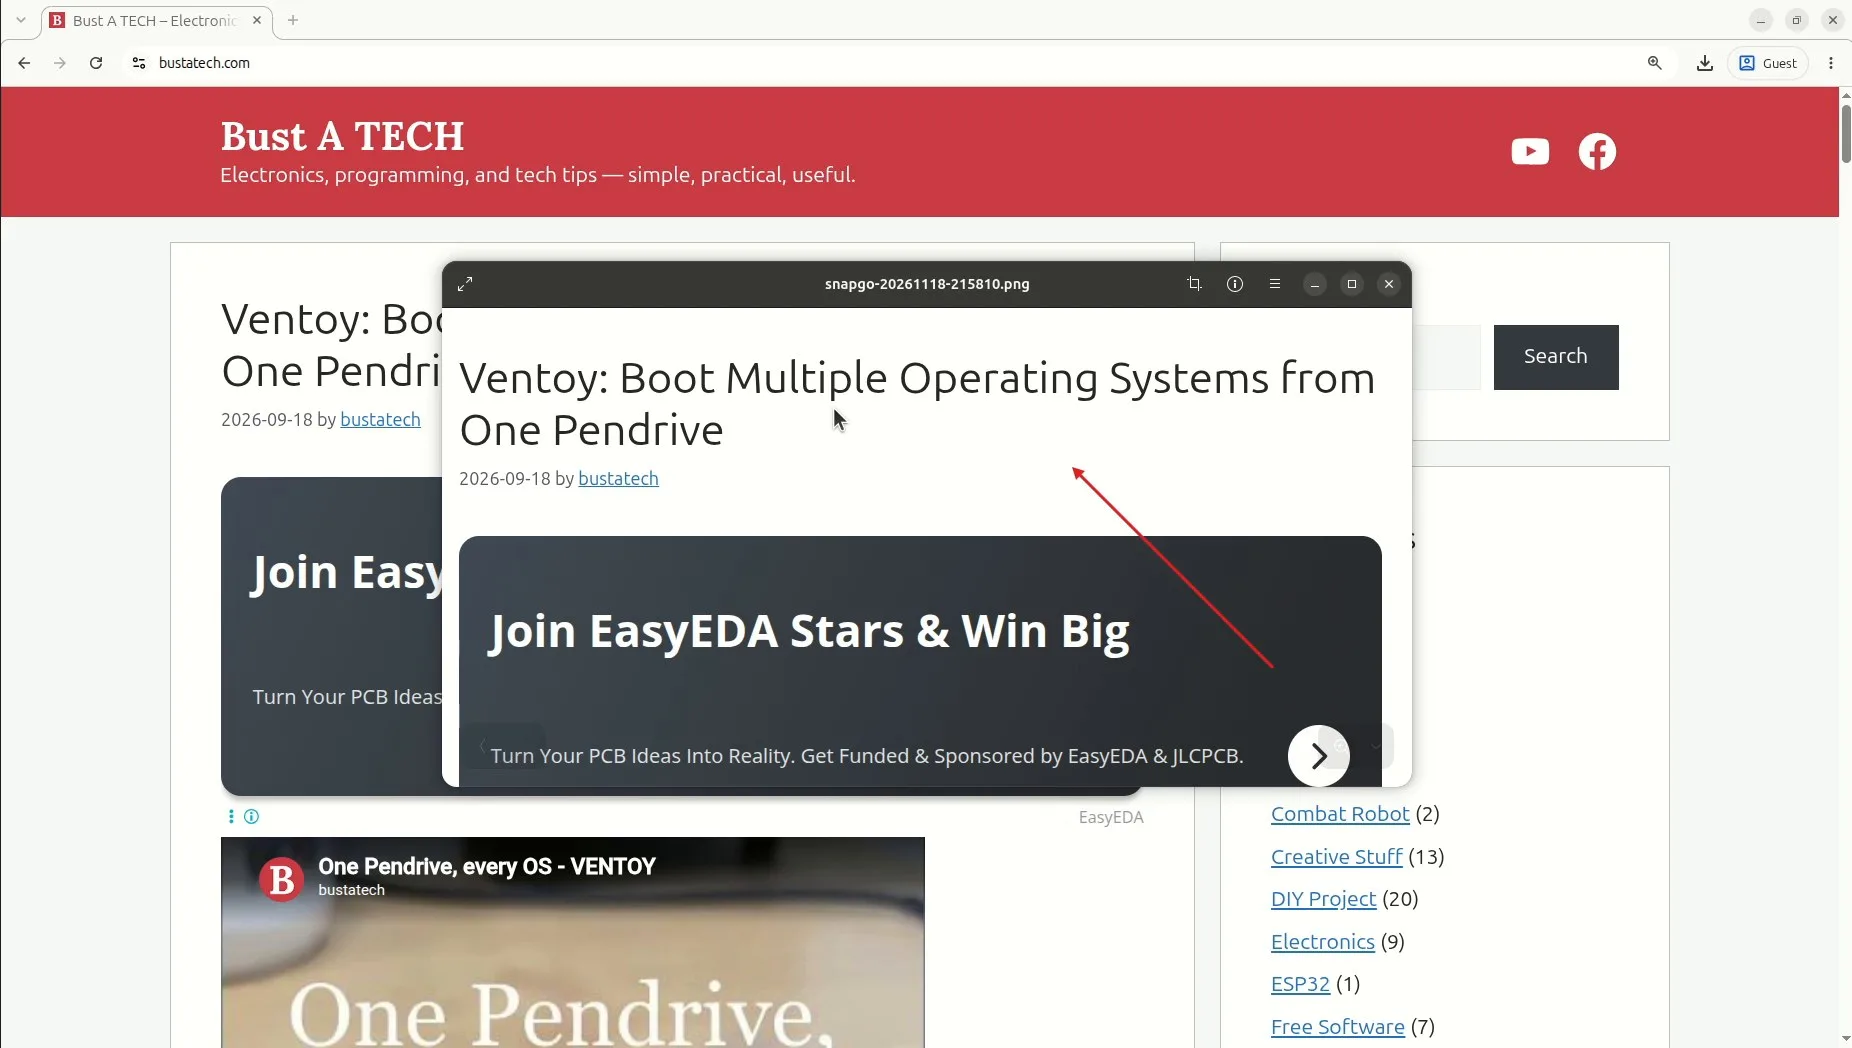
- You draw right on the frozen screen. There is no extra window to confirm or to close.
- Three steps instead of five: press Print Screen, drag and draw, press Enter. It is copied, and it is gone.
- Everything you draw stays editable until you are done: move it, recolour it, resize it or delete it.
- A clipboard that works. After copying, snapgo stays alive in the background until something else replaces the clipboard, so pasting never fails.
Where it installs
snapgo comes as a .deb package.
| Distribution | Installs? |
|---|---|
| Ubuntu 24.04, 25.x, 26.04 | Yes |
| Debian 13 (trixie) and newer | Yes |
| Linux Mint 22+, Pop!_OS 24.04, Zorin OS 18, elementary OS 8 (all Ubuntu 24.04-based) | Yes |
| Ubuntu 22.04, Debian 12, Linux Mint 21 | No, system libraries too old |
| Fedora, Arch, openSUSE and other non-Debian distributions | No, they don’t use .deb; build from source instead |
| ARM machines (Raspberry Pi, ARM laptops) | No, the package is amd64 only |
So far I have only tested it on Ubuntu 26.04. It is designed for GNOME, so on other desktops it may not work yet. If you run into an error, please send it to bustatech@gmail.com. Every report helps.
Step 1: Download and install
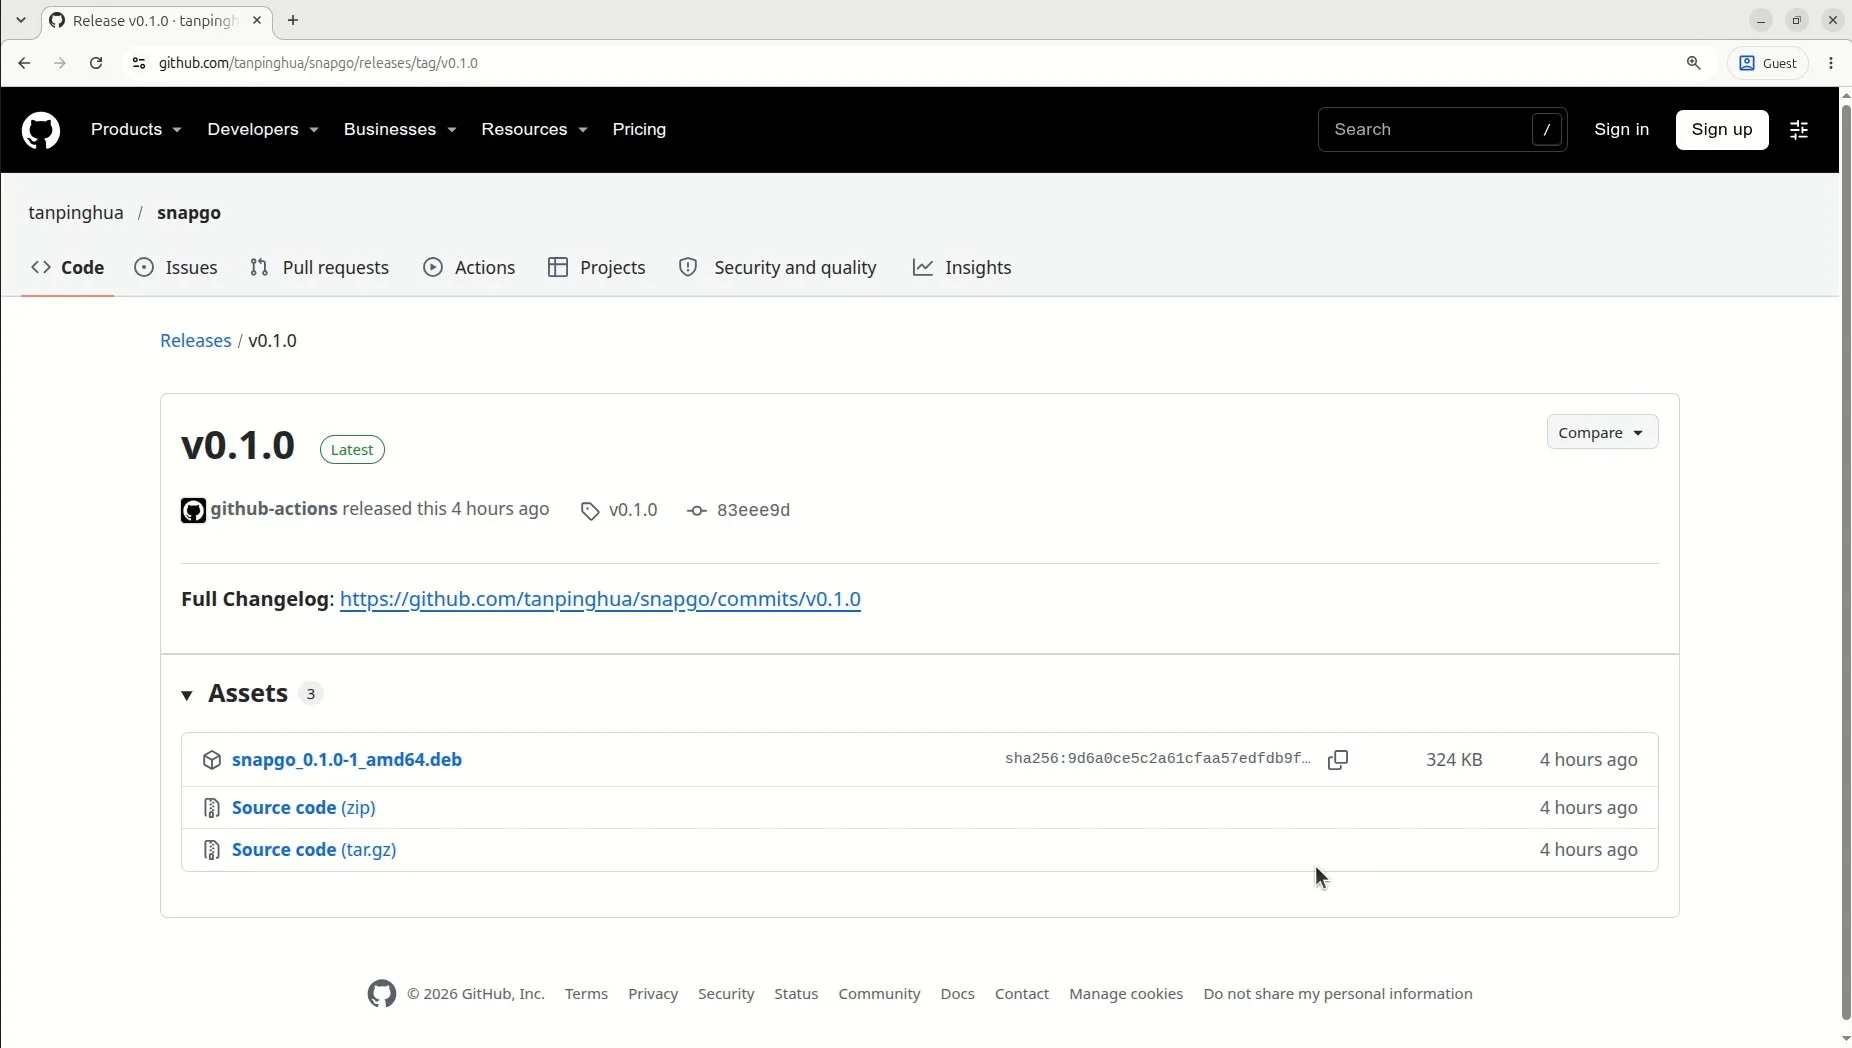
- Open the snapgo releases page and download the file that ends in
.deb, for examplesnapgo_0.1.0-1_amd64.deb. - When the download finishes, click it. It opens in App Center.
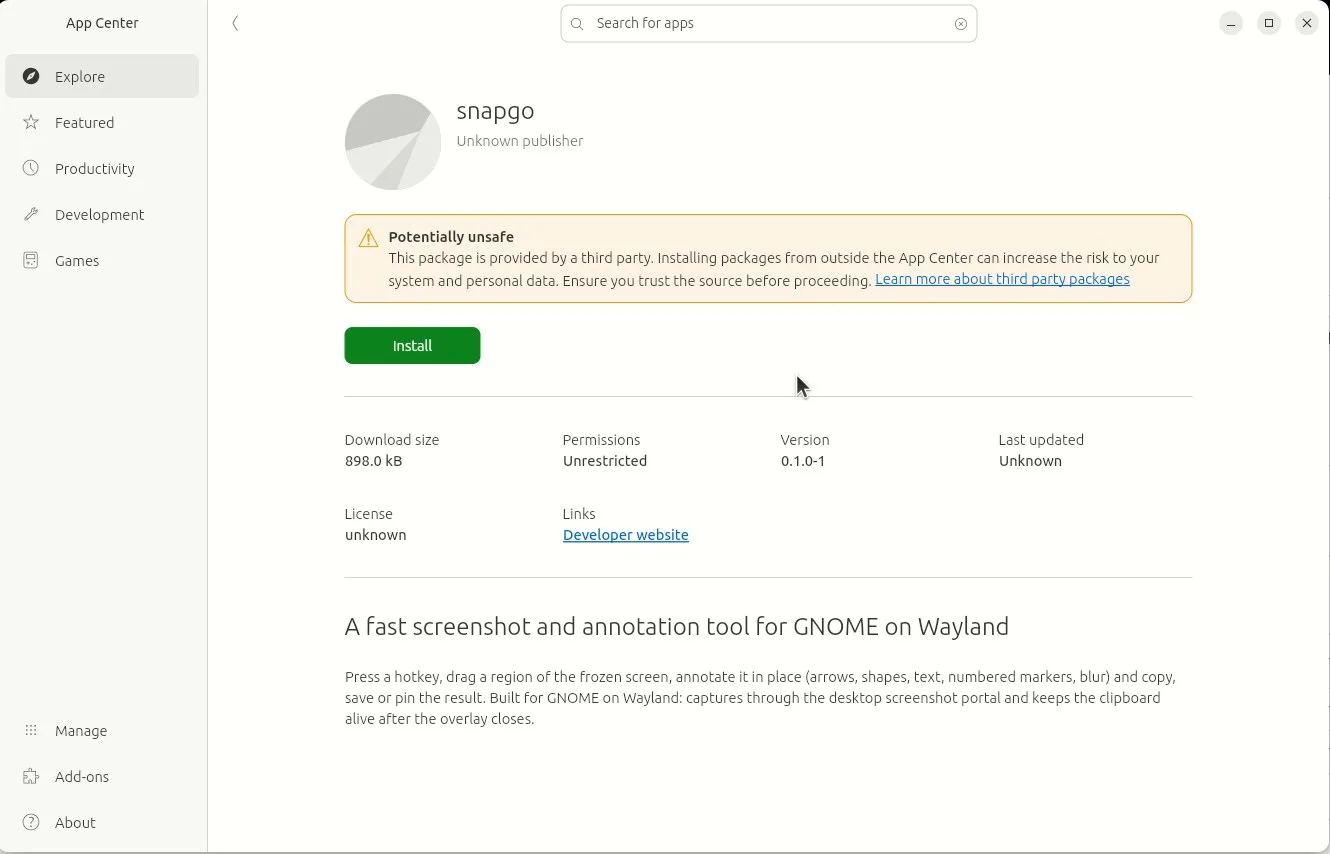
- App Center warns that the package comes from outside the store. That is normal for a file from GitHub.
- Click Install, confirm, and enter your password.
If you prefer the terminal: sudo apt install ./snapgo_*_amd64.deb
Step 2: Put it on the Print Screen key
Ubuntu’s own screenshot tool already uses Print Screen, so free the key first, then give it to snapgo.
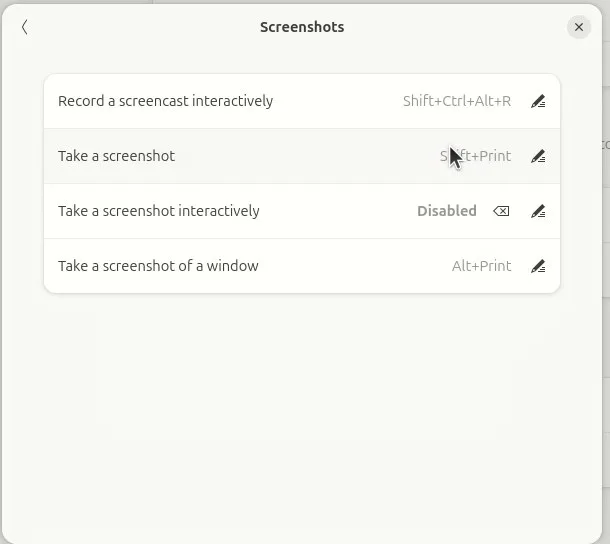
- Open Settings → Keyboard → View and Customise Shortcuts.
- Under Screenshots, click Take a screenshot interactively, press Backspace, and click Set. It now shows Disabled.
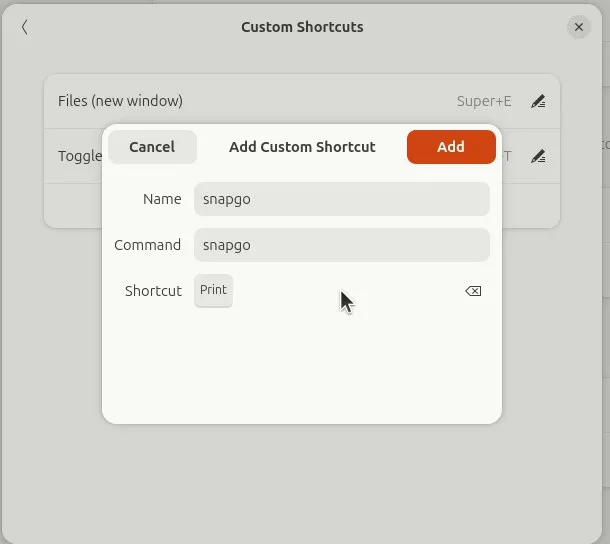
- Go back to Custom Shortcuts and click Add Shortcut.
- Name:
snapgo. Command:snapgo. Click Set Shortcut… and press Print Screen. Then click Add.
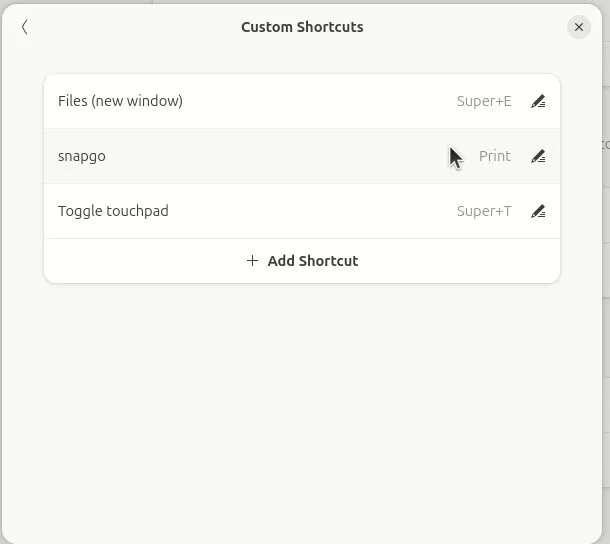
The very first time you press it, Ubuntu asks whether snapgo may take screenshots. Click Allow. It only asks once.
Step 3: Take a screenshot and draw on it
Press Print Screen. The screen freezes. Drag around the part you want (a plain click selects the whole screen), then draw right on it.
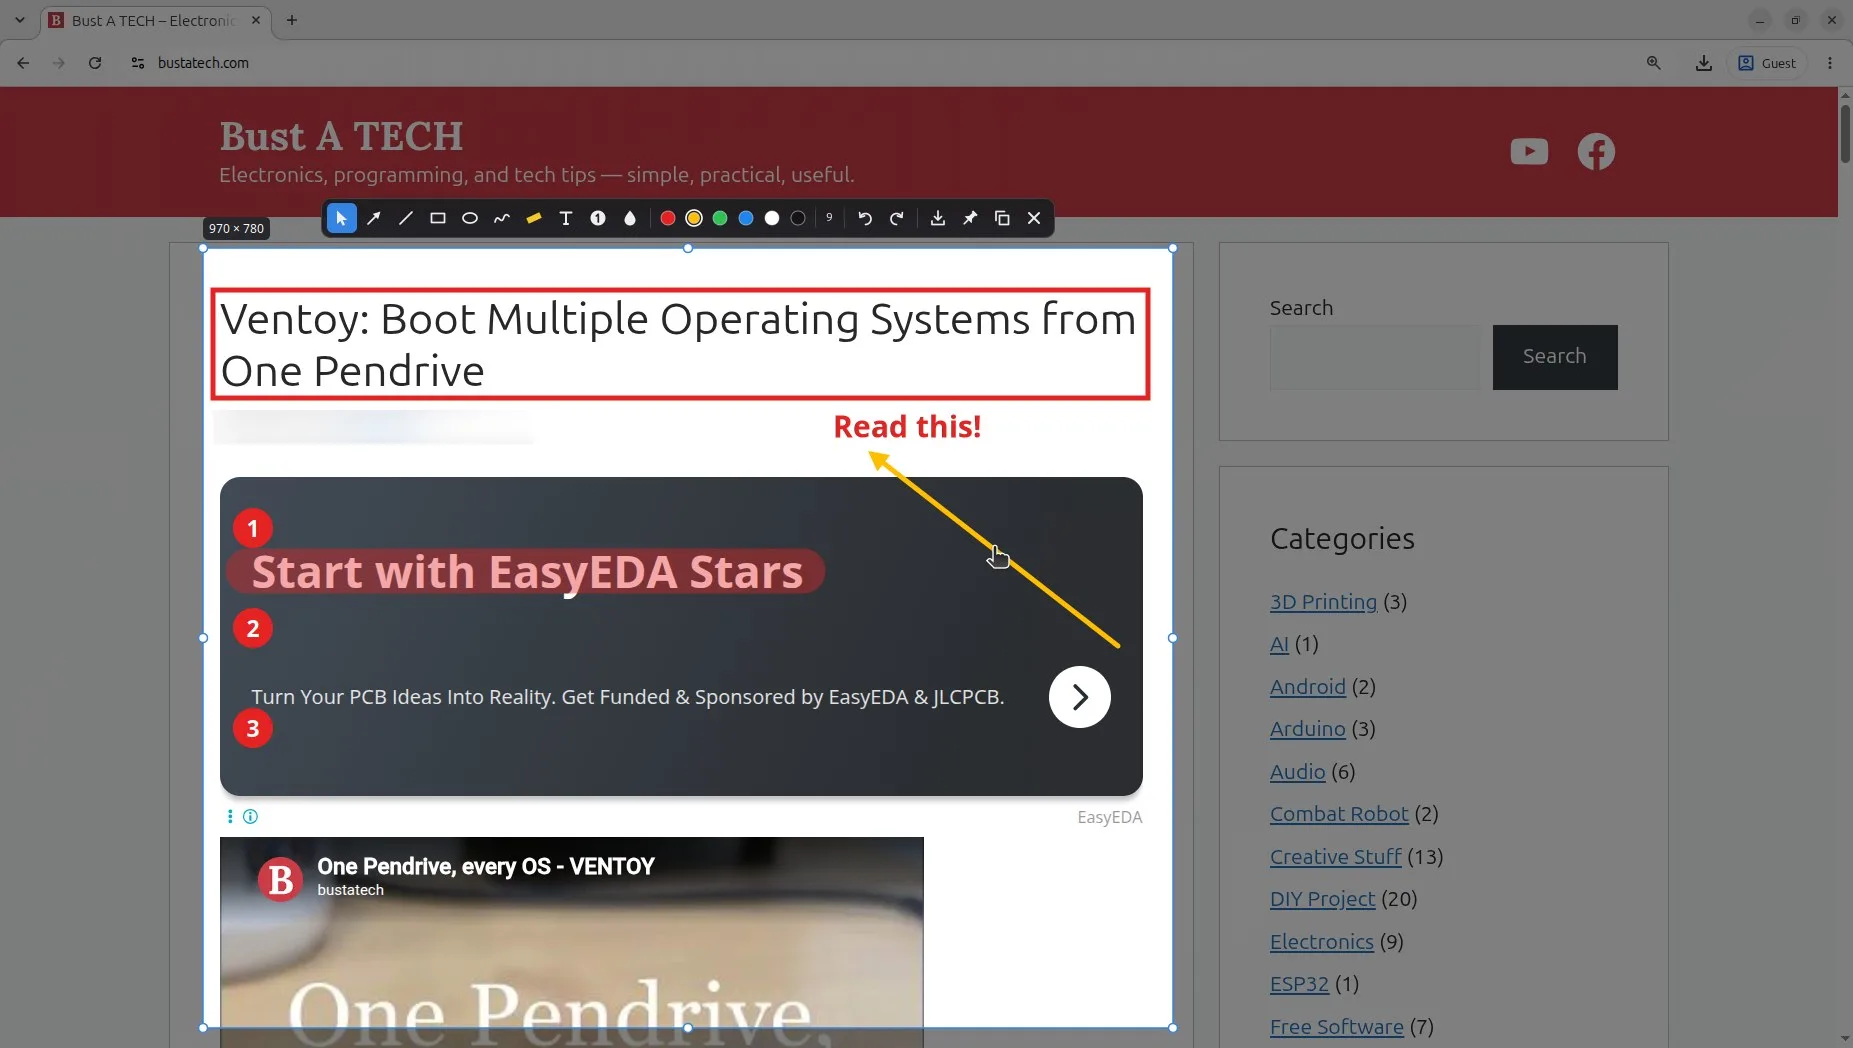
| Action | Keys |
|---|---|
| Copy and close | Enter or Ctrl+C |
| Save to Pictures/Screenshots and close | Ctrl+S |
| Pin the result on screen | Ctrl+P |
| Cancel | Esc |
| Tools | V select · A arrow · L line · R rectangle · E ellipse · P pen · H highlighter · T text · N numbered marker · B blur |
| Colour | 1–6 |
| Size | mouse wheel, or [ and ] |
| Undo / redo | Ctrl+Z / Ctrl+Shift+Z |
| Delete the selected item | Delete |
| Re-edit a text | double-click it |
Changed your mind? Press V, click the item, and move it, or press a number to change its colour.
Pin it on screen
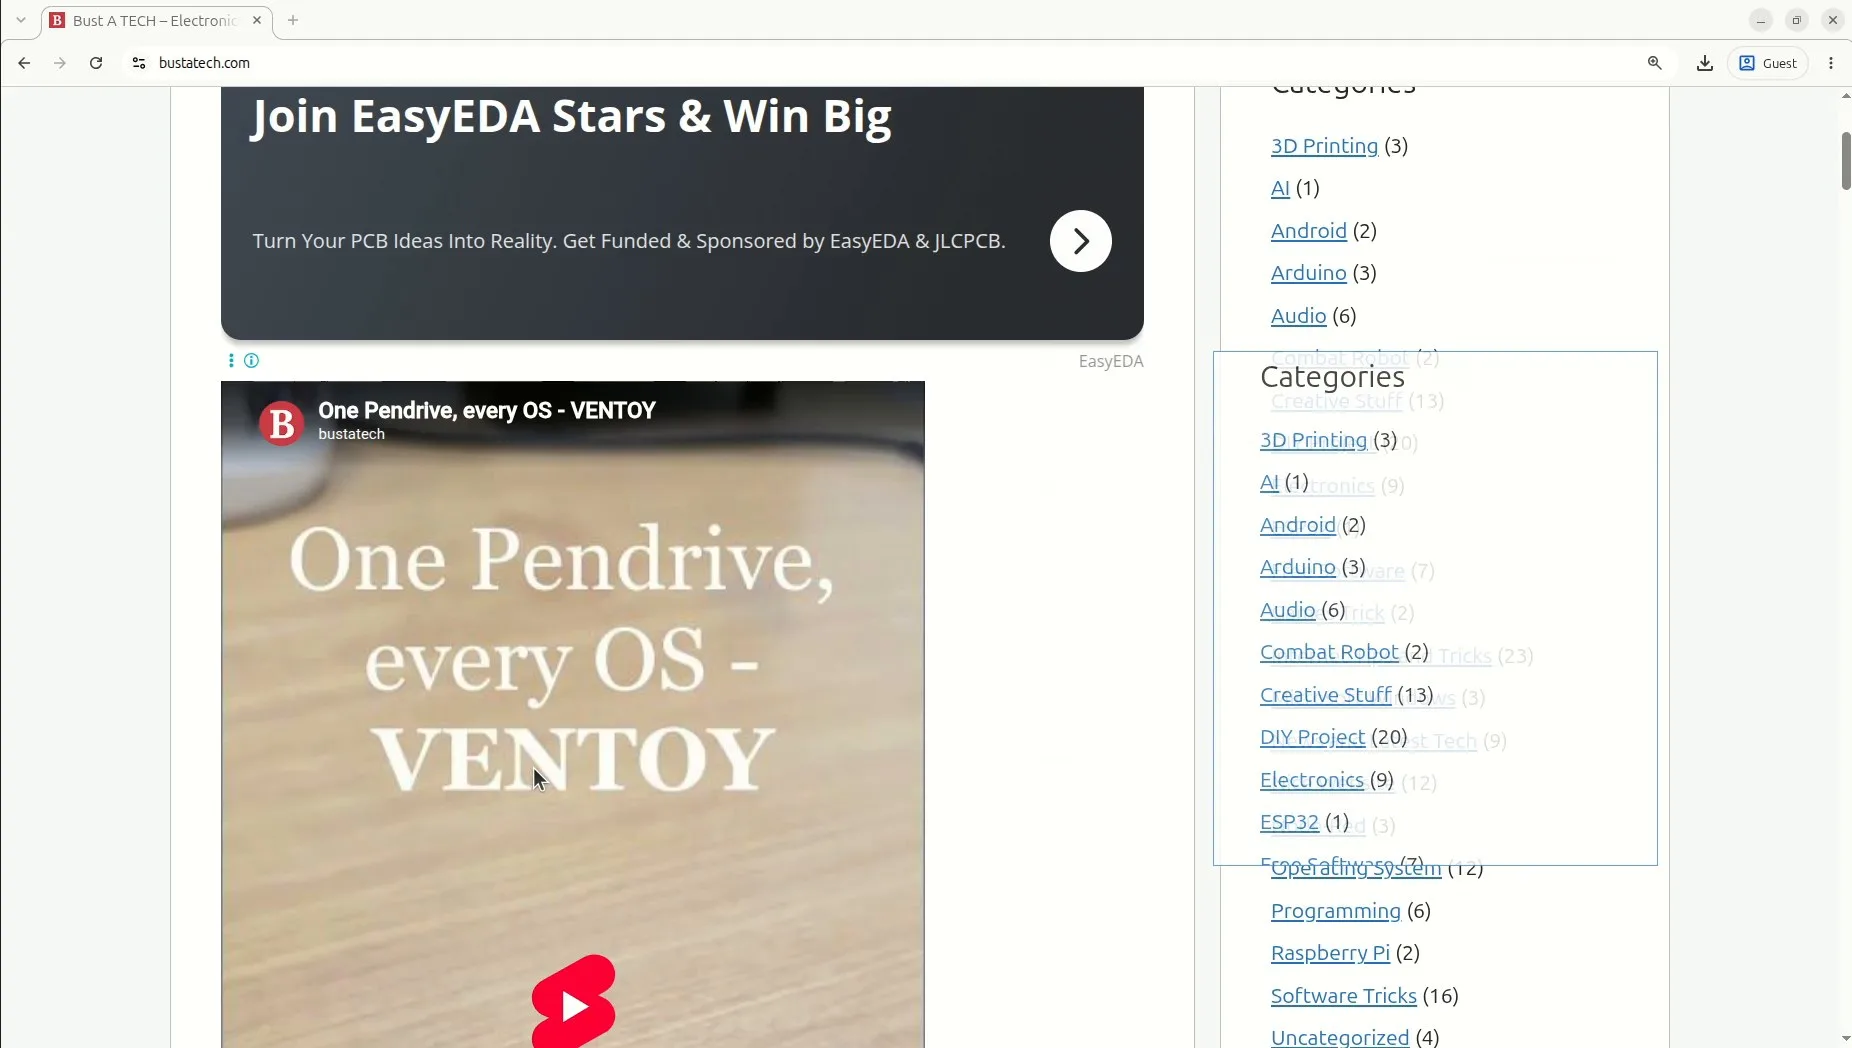
Sometimes you need to keep a picture in view while you work, like a reference or a value to copy. Press Ctrl+P and the screenshot stays on screen as a small frameless window, on top of every other window. Drag it around, scroll to zoom, hold Ctrl and scroll to make it see-through, and double-click to close it.
Paste it anywhere
Most of the time I just want to send it. Press Enter and it is on the clipboard. Open WhatsApp (or email, or a chat), press Ctrl+V, and send.
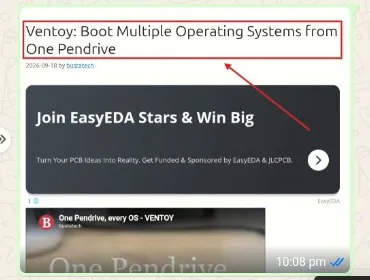
To keep a copy, press Ctrl+S instead. It is saved in your Pictures/Screenshots folder.
Wrapping up
After trying everything, I finally have a screenshot tool I enjoy using every day. snapgo is free and open source on GitHub. Give it a try, and tell me what you think in the comments or at bustatech@gmail.com.