This is step-by-step guide that walks you through setting up the ESP32 development environment using MicroPython and the Thonny IDE.
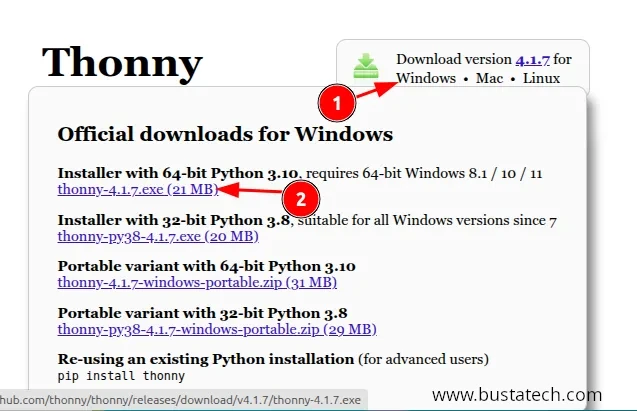
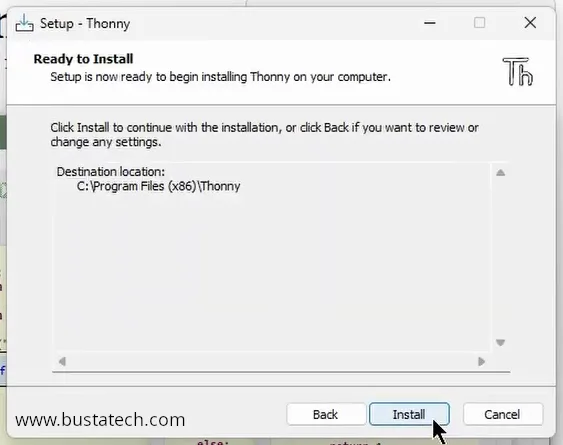
First step is to download and install Thonny IDE. You can get it from their official website https://thonny.org/
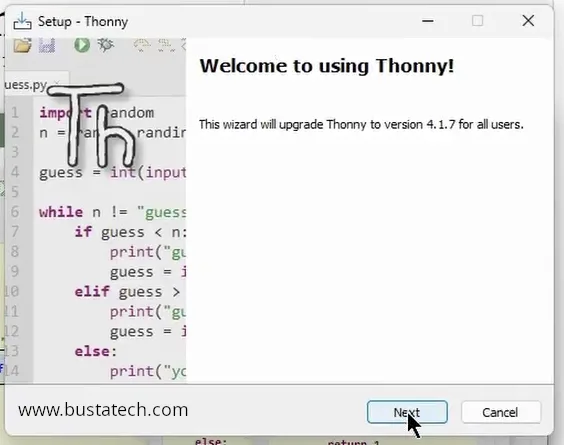
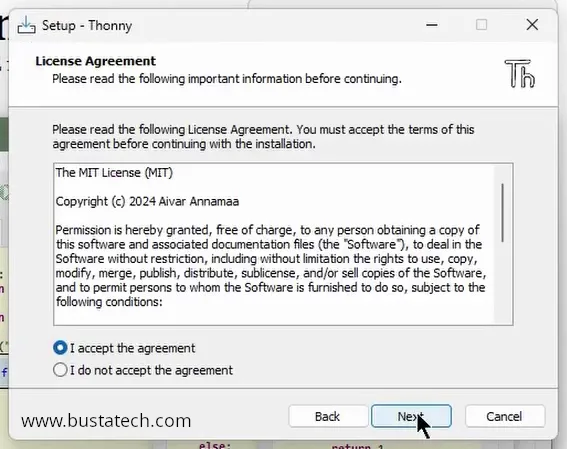
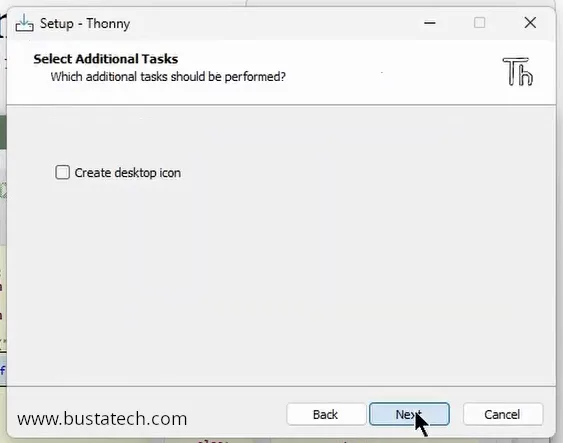
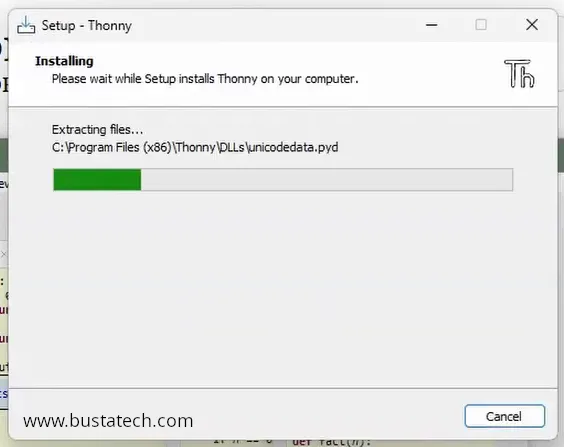
Go through the installation according to the instruction.
After the installation completed, plug in your ESP32 board to your PC:
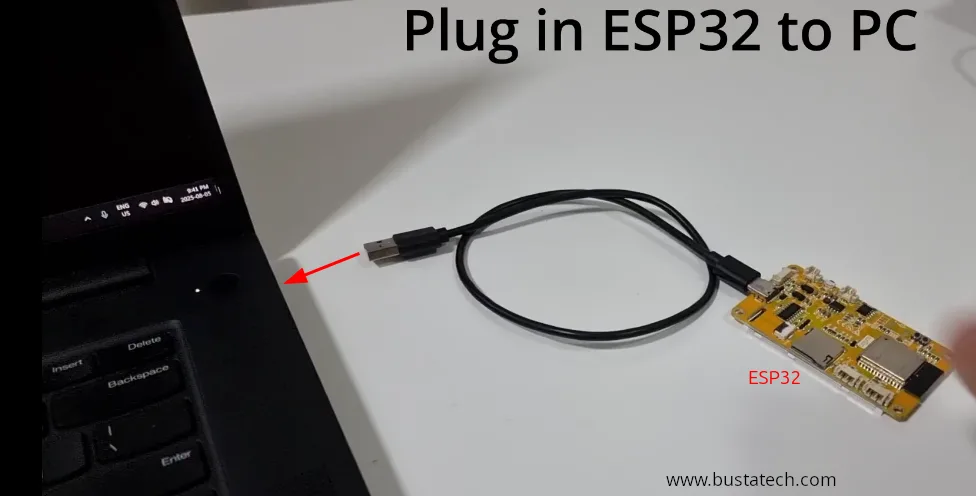
Check under the Device Manager to know the COM port for the ESP32 device, in this case it is COM7. We will need this later.

Launch Thonny IDE and we will use Thonny IDE to write the Micropython firmware onto the ESP32. Click the bottom right of the Thonny IDE and choose Configure interpreter.
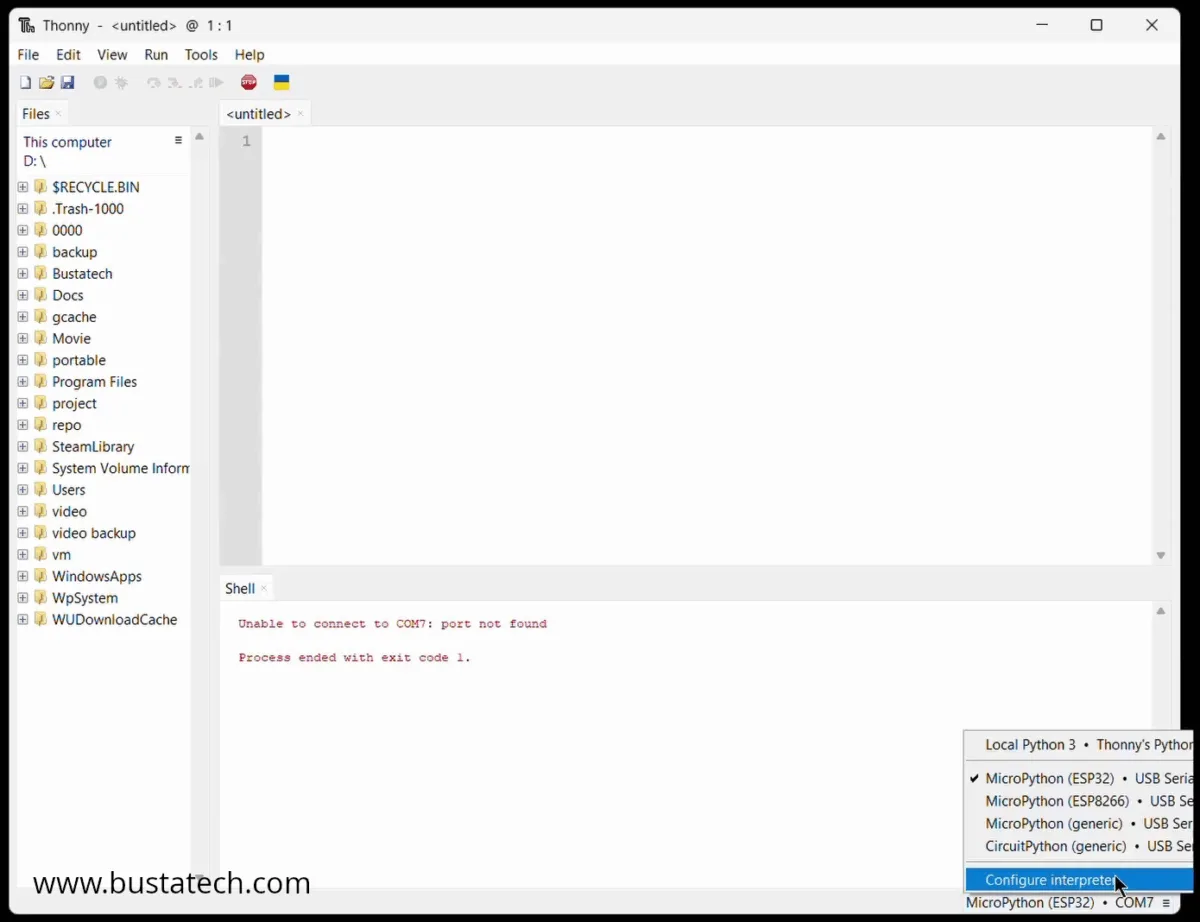
Select Interpreter tab, and click on Install or update Micropython.
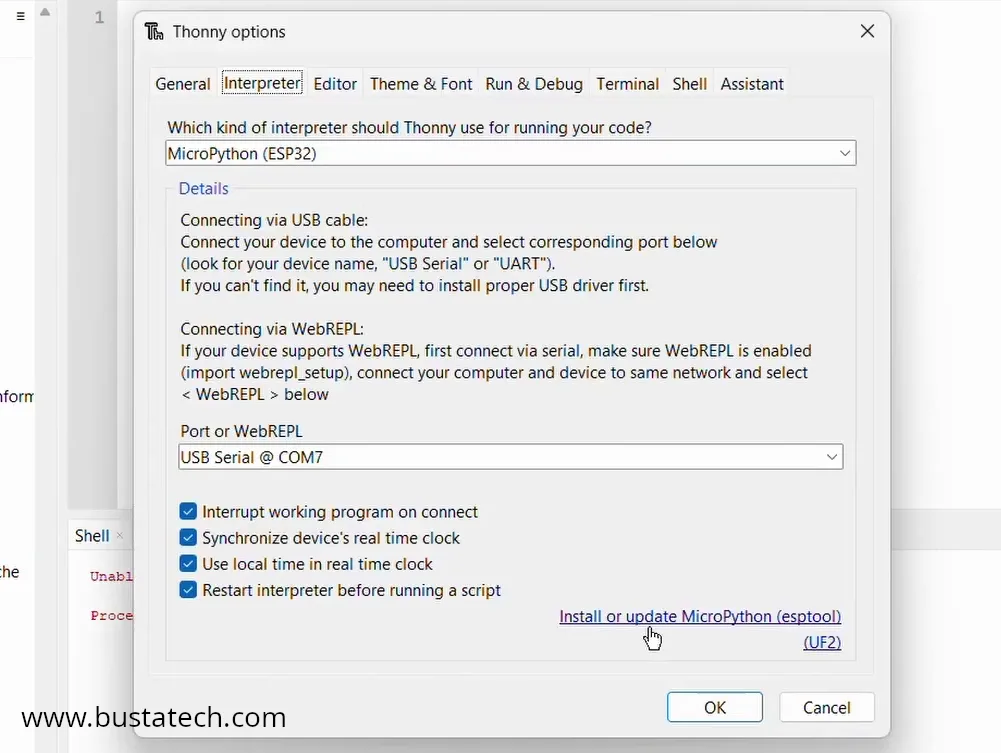
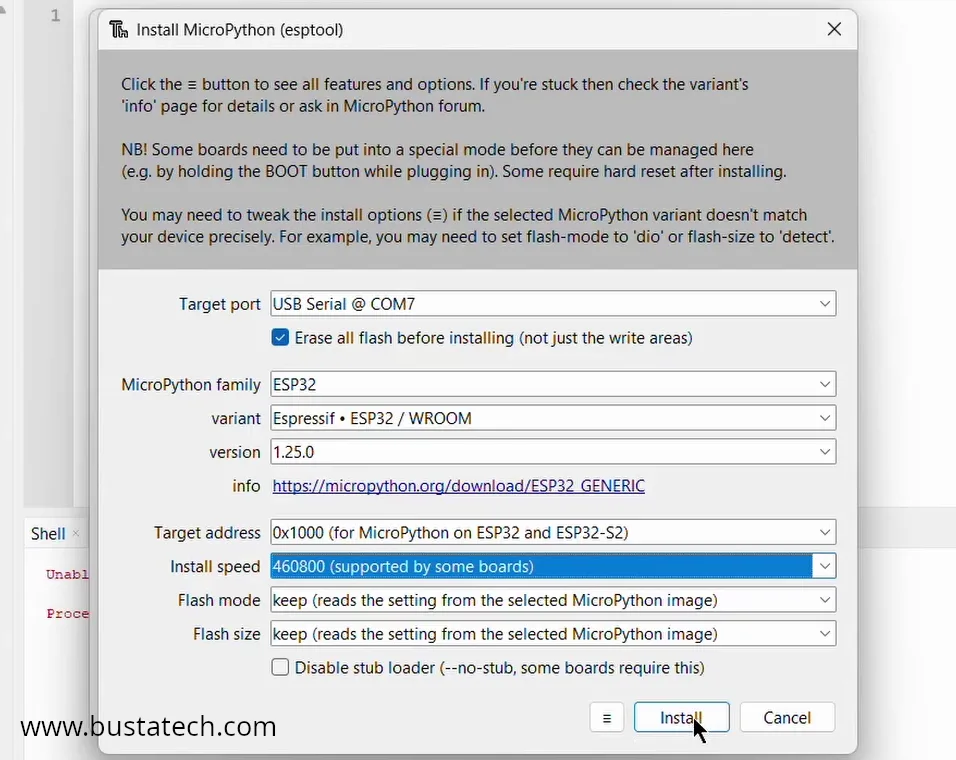
Then, select the COM Port that we’ve seen in the Device Manager, and choose the correct family and variant according to your ESP32 model. Finally click Install.
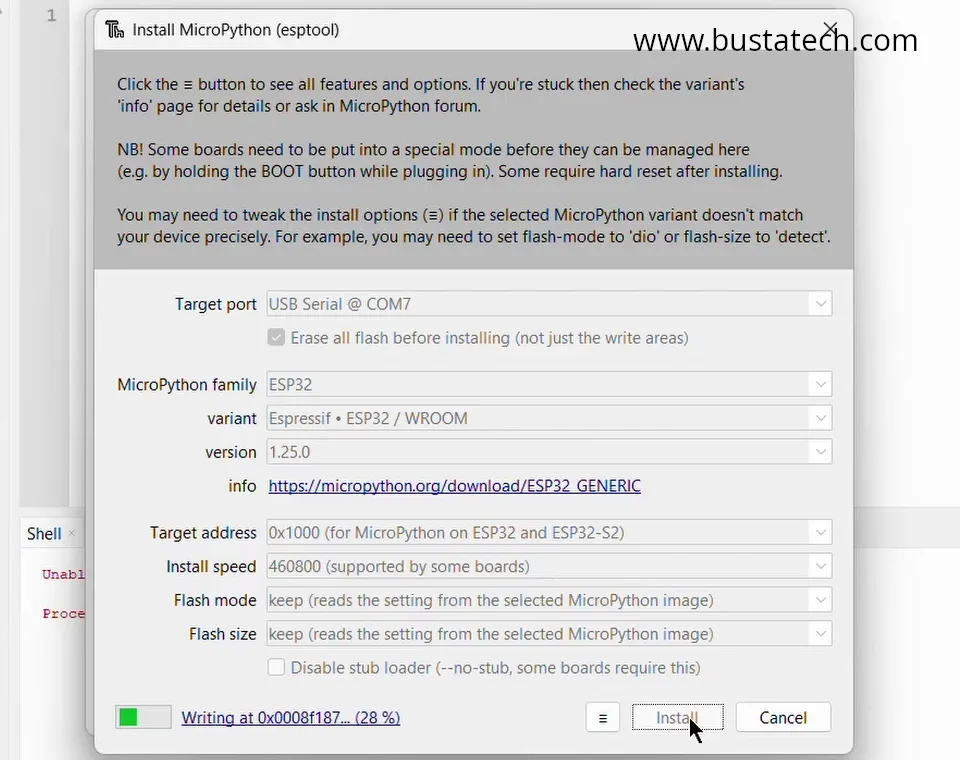
It will take few minutes to complete:
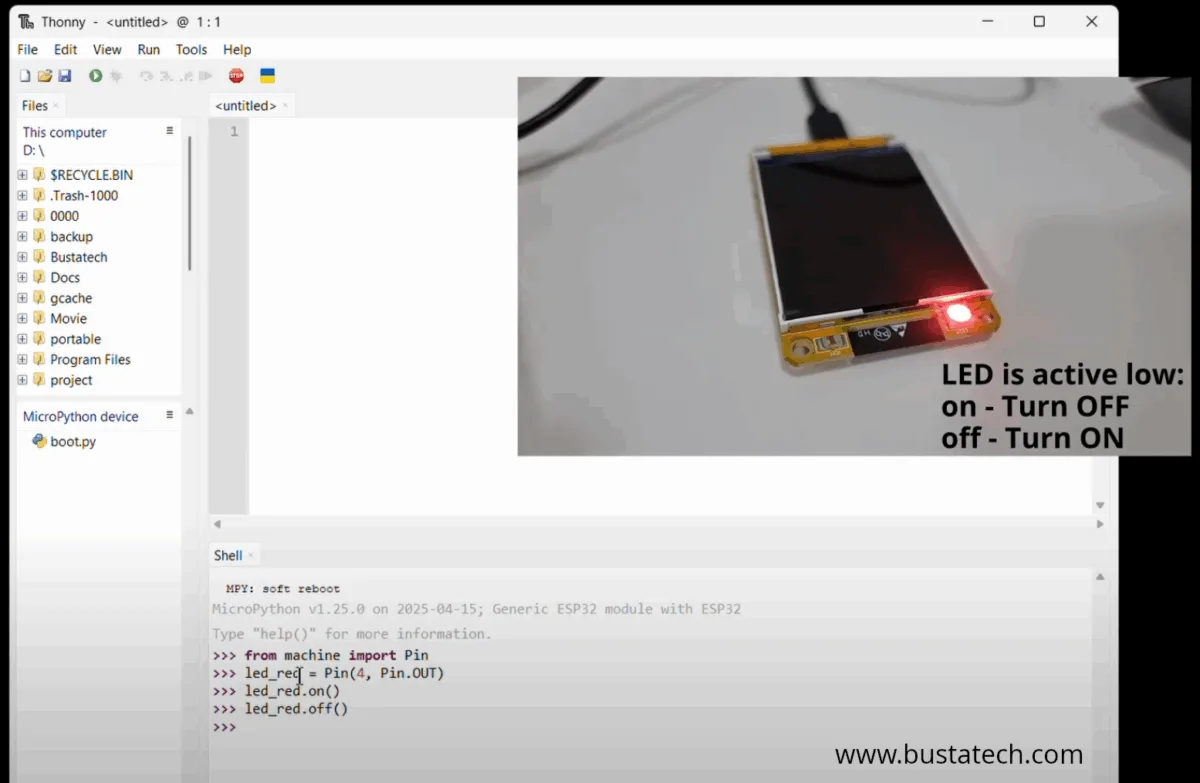
Back to Thonny, this is the overview:
- Run button – to trigger running a script on the ESP32
- Stop button – to trigger stopping a script on the ESP32, this will also reset the ESP32
- File Browser (local) – this is the file browser for the files on the PC, this is useful to transfer a file from the PC to the Micropython device
- File Browser (Micropython device) – this is the file browser for the files on the Micropython device. It is also possible to download the files from Micropyton device to PC
- Code editor – once any file opened, either from Local or Micropython device, it will be shown here for user to edit the code.
- Shell – this is the shell allows testing any python script directly on the Micropython device. Please refers to the video above for the testing.

Next, we will do some direct testing on the shell by manipulating the pins on ESP32 to turn the LED ON/OFF. In my opinion, the Shell is very useful and shorten a lot of development time.
To make the script permanent on the ESP32, you need to create a main.py file and save it under ESP32. Below is a complete simple python script to perform a very simple LED blinking on the Cheap Yellow Display.
from machine import Pin
import time

led_red = Pin(4, Pin.OUT)

while True:
    led_red.on()
    time.sleep(0.2)
    led_red.off()
    time.sleep(0.2)
Click Save button and choose to save the file on MicroPython device.
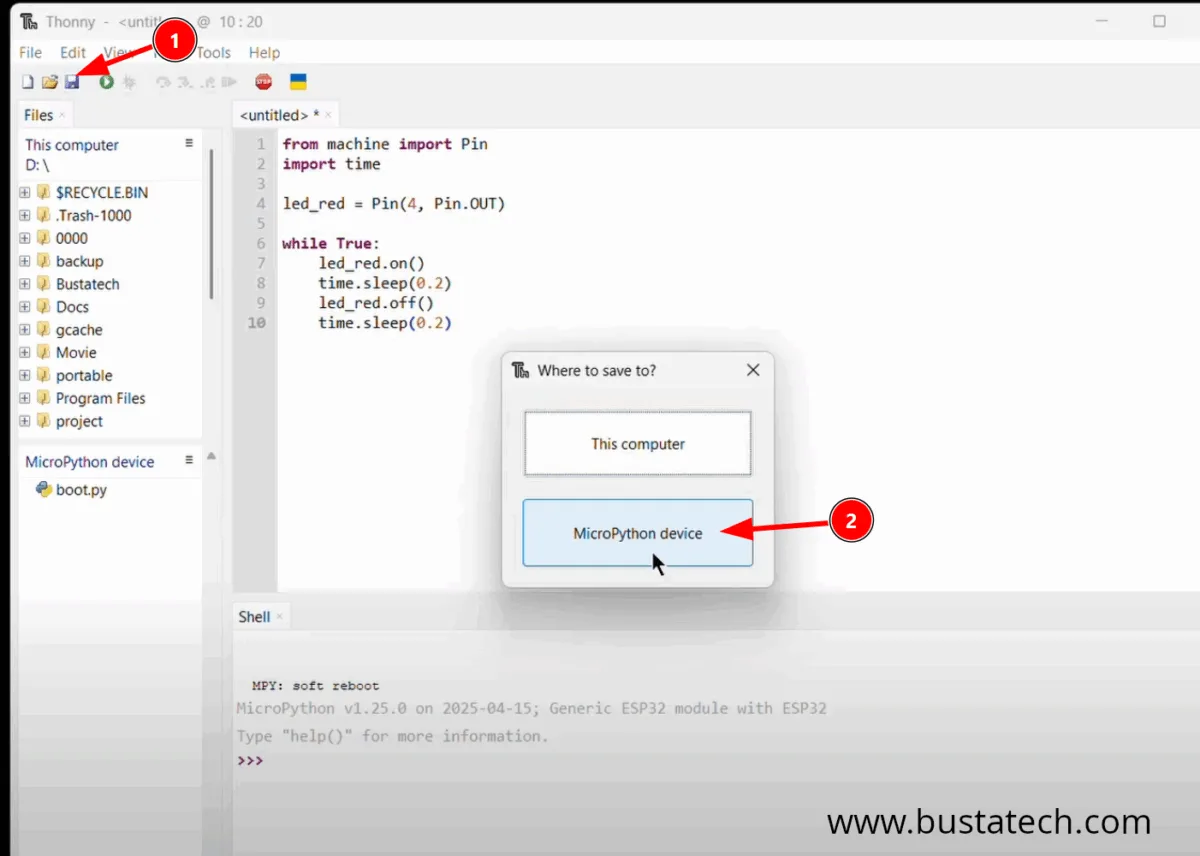
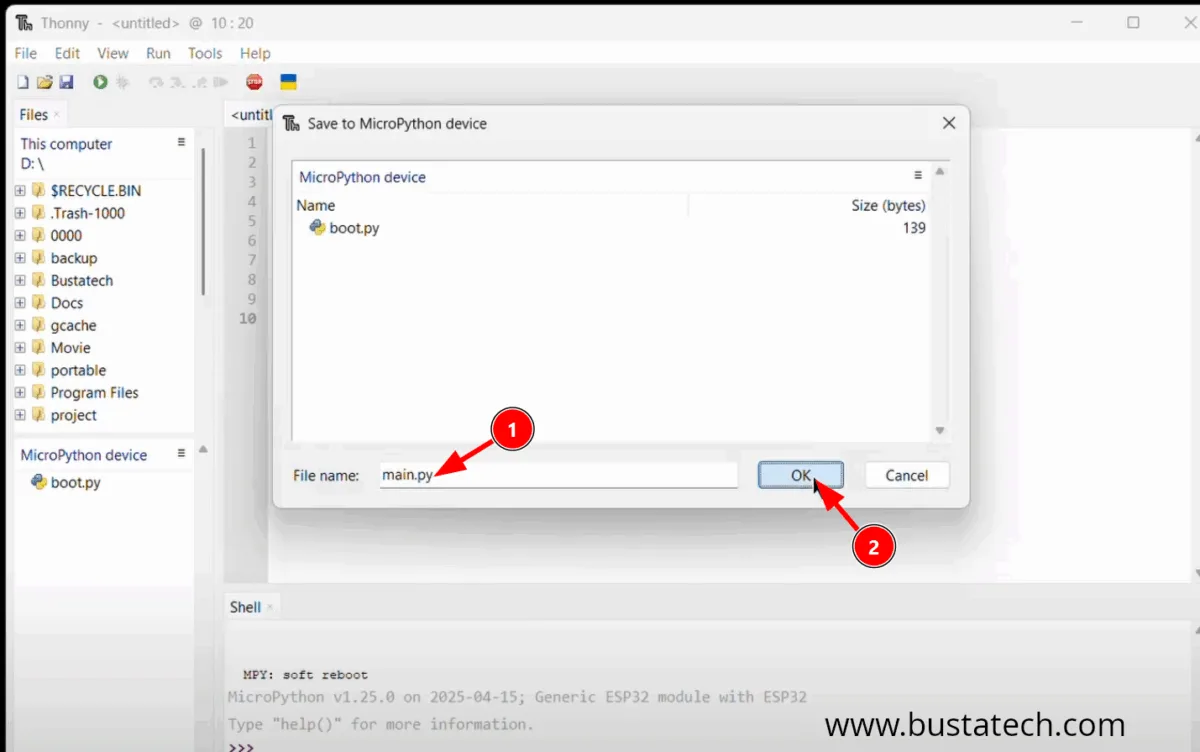
Save the file as “main.py” to make it run automatically when the device is boot up.
You can refers to the video above for the blinking testing. Thanks, and hope you learned something from this article.